It is Fast and Simple.
Introduction What can be found in this package, and what can it be used for Thank you for purchasing Ultrauniq HTML5 Template. This manual will show you how to work with your template, how to edit it and make it a "live" webdemo. All pages content is made with HTML, and dynamic animation is made with JavaScript.
After unzipping the template package you will find 3 folders: "documentation", "HTML". You can also see a zip archive called "############.zip" that you need to unzip.The sources package contains all source files for the template.
Working with the template you need to edit the .html, .css, and .js files.
All editable HTML files are located in "package" folder of the template package (demo-construction.html, demo-education.html, demo-medical.html, etc.) Each index-#.html file represents a single template page.
To open .html file with Sublime Text 3 application or by notepad++ for good experience, you should right mouse click on the file and in the context menu select Open with > Sublime Text 3 or Open with > notepad++ . When the file is open, you can start editing it.
CSS files are used to change the template appearance like fonts (font-family, font-size, color etc), backgrounds, column width values etc. You can edit the css files with Sublime Text 3 application. Detailed tutorials on are available at our online help center.
During the send news letter process you can send by using Email Template files.
Some templates may contain the non-default fonts used in the design. By default, the internet browser can render only fonts that are installed to your operating system. In other words, if your webdemo design uses some custom fonts and these custom fonts are not installed on your webdemo visitor's computer, custom fonts won't be displayed. Default fonts will be rendered instead. That's why web developers should look for some alternative solutions. In our templates custom fonts are embedded using Google Web Fonts technology.
You can learn more on using Google Web Fonts by checking the tutorial on how to work with Google web Fonts.
//fonts.googleapis.com/css?family=[---your_web_font_name_here---]
These templates are HTML based, so all content is stored and could be accessed though the .html files.
The other way is to use the browser developer tool to find the blocks you want to edit. You can learn more about the developer tools checking the tools description and tutorials.
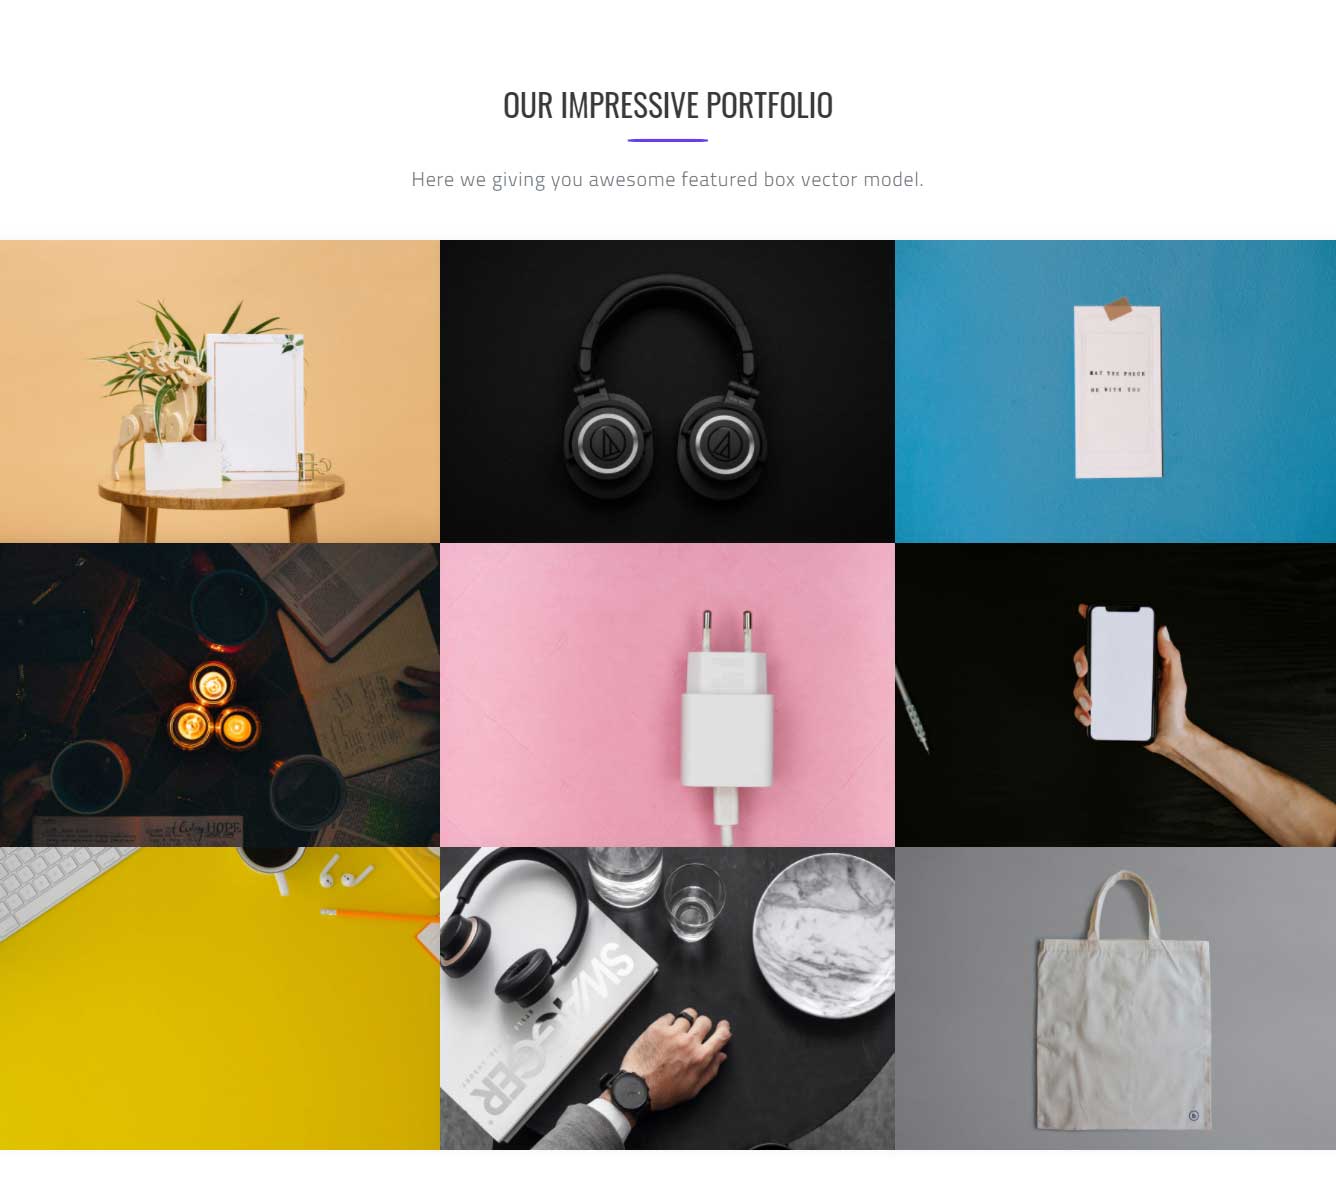
Open the template folder, go to 'HTML/images' directory. You can upload your images with the same name and extension to replace the default ones.
The other way is to upload custom images with your titles and extensions. Then you’ll need to change the image file names in the html files.
You should see the following line:
replace YOUR_API_KEY symbol with your mailchimp api key.
replace YOUR_LIST_ID symbol with your unique mailchimp list ID.
That's all, now the subscribe will be activated.
In order to make your demo "live", you need to upload all the content of "demo" folder from your local computer to your hosting server.
Please note: your webdemo root depends on the directory structure on your hosting server. If you upload the "demo" folder itself into your server, the root to your webdemo will be http://your_domain_name/demo. To avoid this and make the webdemo root http://your_domain_name/, please open the "demo" folder and upload the folder content.
We hope this manual was useful for you and helped you to install, to edit the template and to resolve your issues.
Both HTML markup and CSS styles used in our templates are semantically correct and valid. However some W3C errors still can take place. Making code 100% W3C valid eliminates the usage of modern webdemo technologies as CSS3 features and HTML5 markup. Our goal is to deliver rich user experience with high quality templates and sometimes we have to break some rules.
Header info Text
Social Icons
Contact Info
Logo-Bar
Menu-Bar
Search Box
Address Info
Login
Registration
Search Overlay
All header elements are inter changed with any bar(Logobar,Topbar,Menubar)layout will not brake


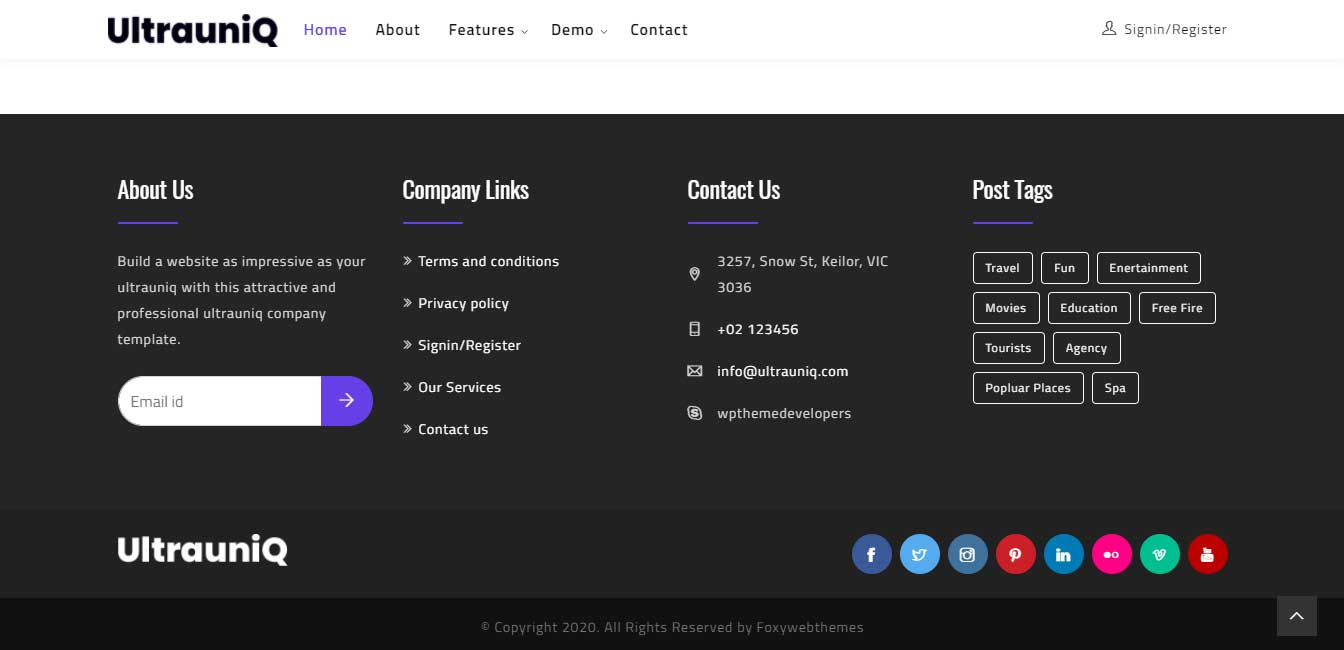
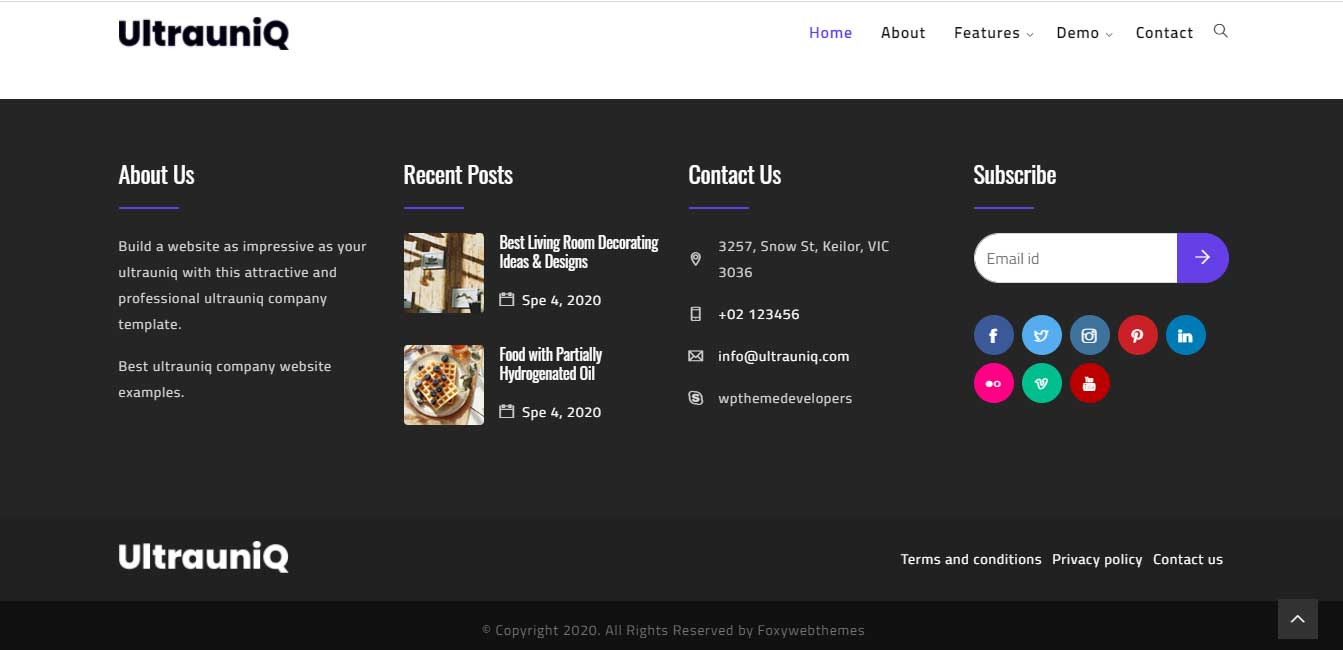
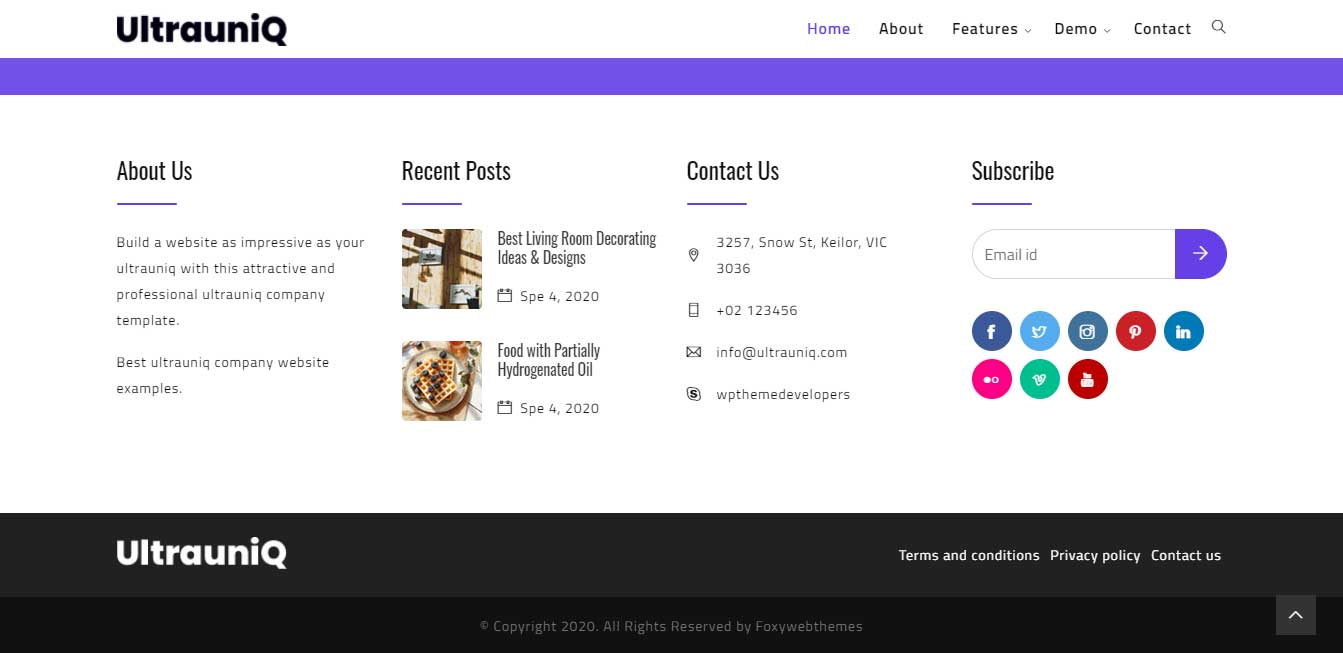
About Us Widget
Company Links Widget
Contact Us Widget
Post Tags Widget
Logo
Footer Menu
Social Icons
Mailchimp Widget
Copyright
All footer elements are inter changed layout will not brake